Follow the instructions below to browse file(s)/folder(s) in Recovery Points in CDP.
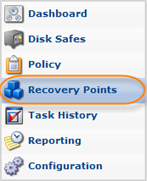
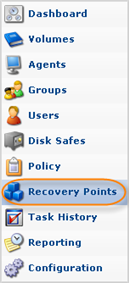
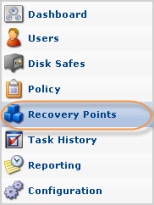
1. Click on "Recovery Points" in the Main Menu to open the "Recovery Points" window.
| Standard Edition | Enterprise Edition | Advanced Edition |
|---|---|---|
 |
 |
 |
2. Enterprise Edition: In the "Recovery Points" list, select an Agent from the drop-down menu located on the "Recovery Points" list toolbar.
| Enterprise Edition |  |
|---|
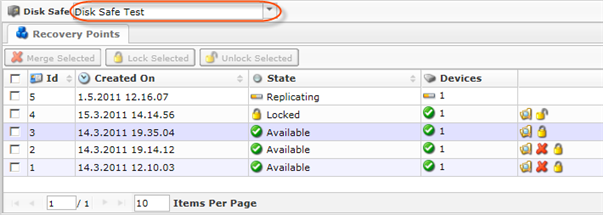
3. Select a Disk Safe from the drop-down menu located on the "Recovery Points" list toolbar.
| Standard Edition |  |
|---|---|
| Advanced, Enterprise Edition |  |
4. In the "Recovery Points" list, find a Recovery Point and click on the "Browse" icon in the "Actions" column for this Recovery Point.
| Standard Edition |  |
|---|---|
| Advanced, Enterprise Edition |  |
| Tip To find a Recovery Point, you can use the Basic and Advanced List Filters. See Customizing the Recovery Points List. |
5. "The Browse Recovery Point" window will open.
| Standard Edition |  |
|---|---|
| Advanced, Enterprise Edition |  |
6. Using the CDP Server Web Interface, browse the files and folders contained in the Recovery Point.
The built-in file browser functions like the Windows Explorer.
- To enter to a folder, double-click it.


Note
Make sure you double-click the folder name (text) or icon to enter to the folder. If you double-click the cell background, nothing happens. - To go to the parent folder, click on "Up."

- To go to the desired folder, manually type the path into the address bar and click "Go."

- To find out the current path, see the address bar.

- To change the number of items per page, type a value in the appropriate field. Currently, the maximum number of items per page is 25.

- To navigate by pages, click on the arrow icons or type a page number into the appropriate field.

Columns:
- Path
- Size
- Access Time
- Modify Time
